 how-to
Emergency Property Restoration Yuma 2026: What to Do First
Table of Contents
- Your First Hour After Property Damage: A Homeowner Action Checklist
- Emergency Property Restoration Yuma 2026: Water, Fire, Smoke, and Mold
- Yuma-Specific Hazards and Seasonal Risks to Watch For
- How to Verify a Restoration Contractor Before You Sign
- Insurance Documentation and Claim Coordination
- Building a Commercial Disaster Recovery Plan
- The Business Property Restoration Checklist
- Commercial Restoration Response Time and Business Interruption Recovery
- Frequently Asked Questions
Last Updated: October 18, 2026
Your First Hour After Property Damage: A Homeowner Action Checklist
The first hour after water, fire, or smoke damage decides how much of your home survives intact. At Mint Restoration, we've spent over 30 years responding to emergency property restoration calls across Yuma and the surrounding areas, and the pattern is consistent: homeowners who act fast and document well recover faster and with fewer surprises.
Here's what to do before anyone arrives.
- Shut off the water at the main valve if the damage is water-related
- Cut power at the breaker only if it's safe to reach the panel without standing in water
- Photograph and video every affected room before you move anything
- Move furniture, rugs, and electronics off wet flooring
- Open windows to ventilate smoke or chemical odors
- Call your insurance company and open a claim number
- Call a restoration team for an on-site assessment
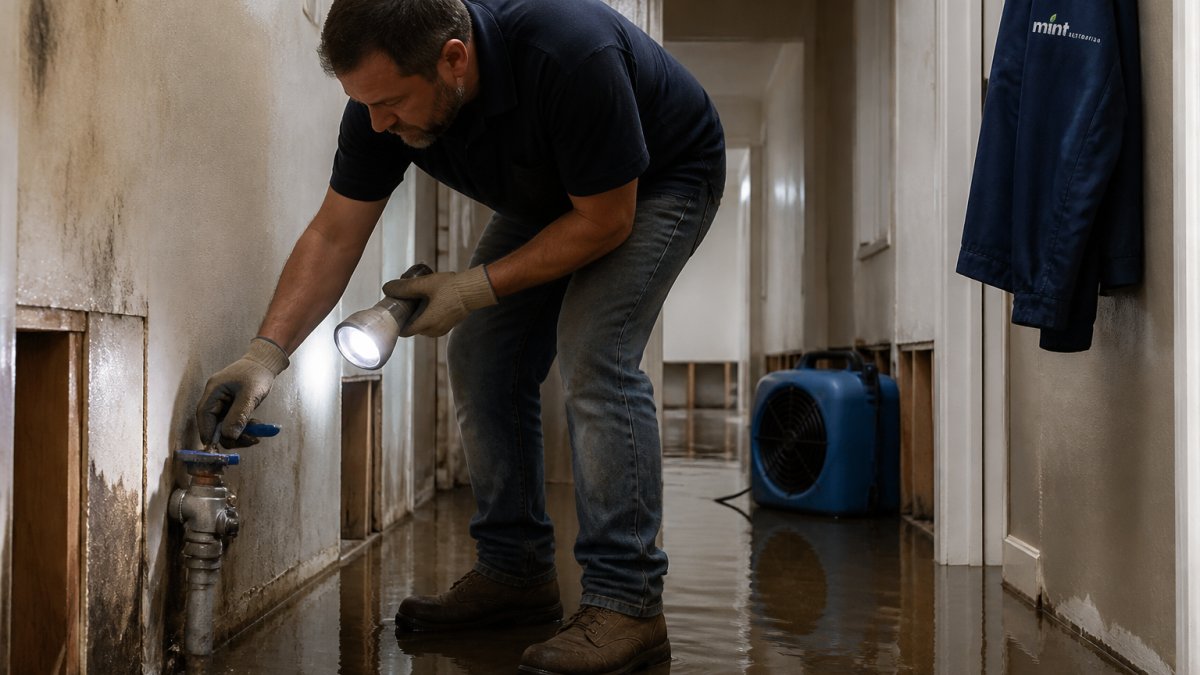
Emergency Property Restoration Yuma 2026: Water, Fire, Smoke, and Mold
Emergency property restoration is the process of stabilizing a damaged property, removing hazards, and returning it to its pre-disaster condition. In practice, that means four distinct damage types, each with its own timeline and safety rules.
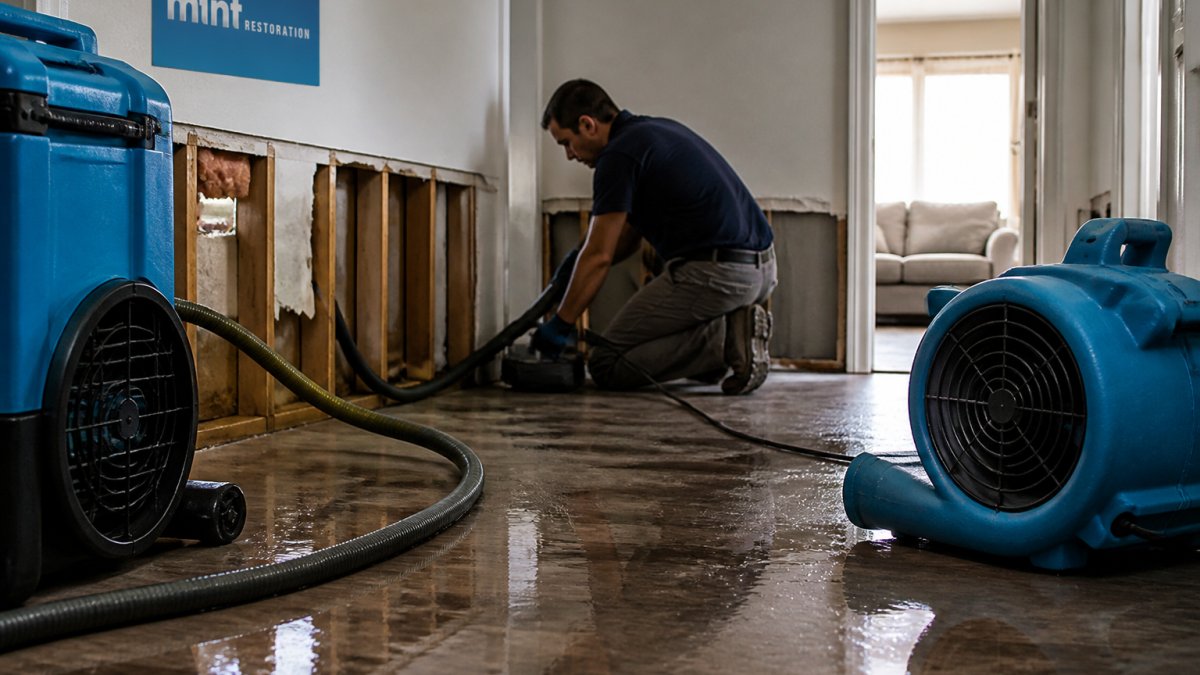
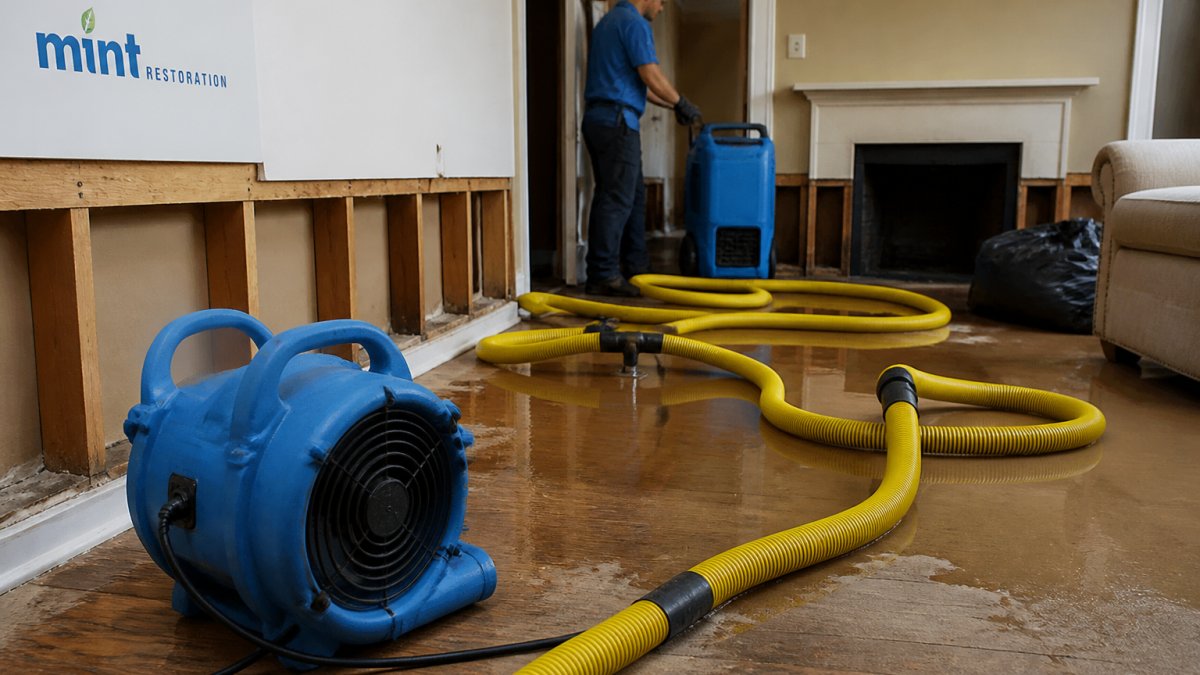
Water damage moves fastest. Water extraction and structural drying need to start within hours to prevent secondary damage. Mold can begin developing in as little as 24 to 48 hours in warm, humid conditions, which is why rapid response matters more than almost anything else.
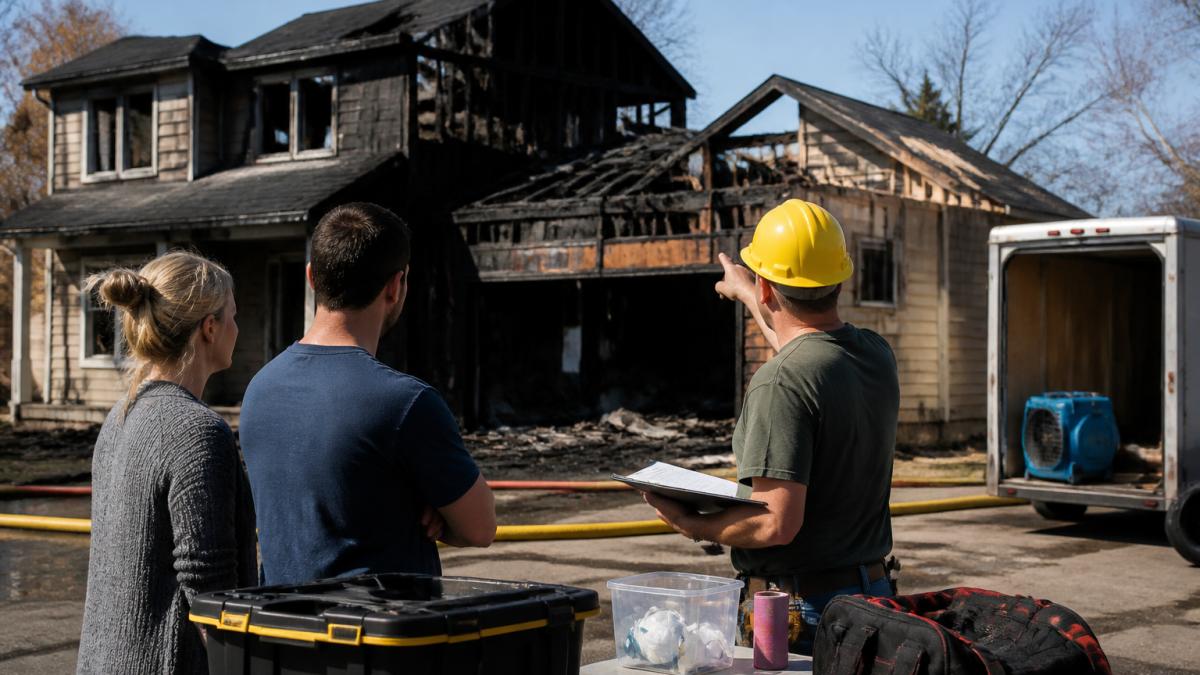
Fire and smoke damage carries residue that settles into walls, ducts, and upholstery. Smoke damage often reaches rooms the fire never touched.
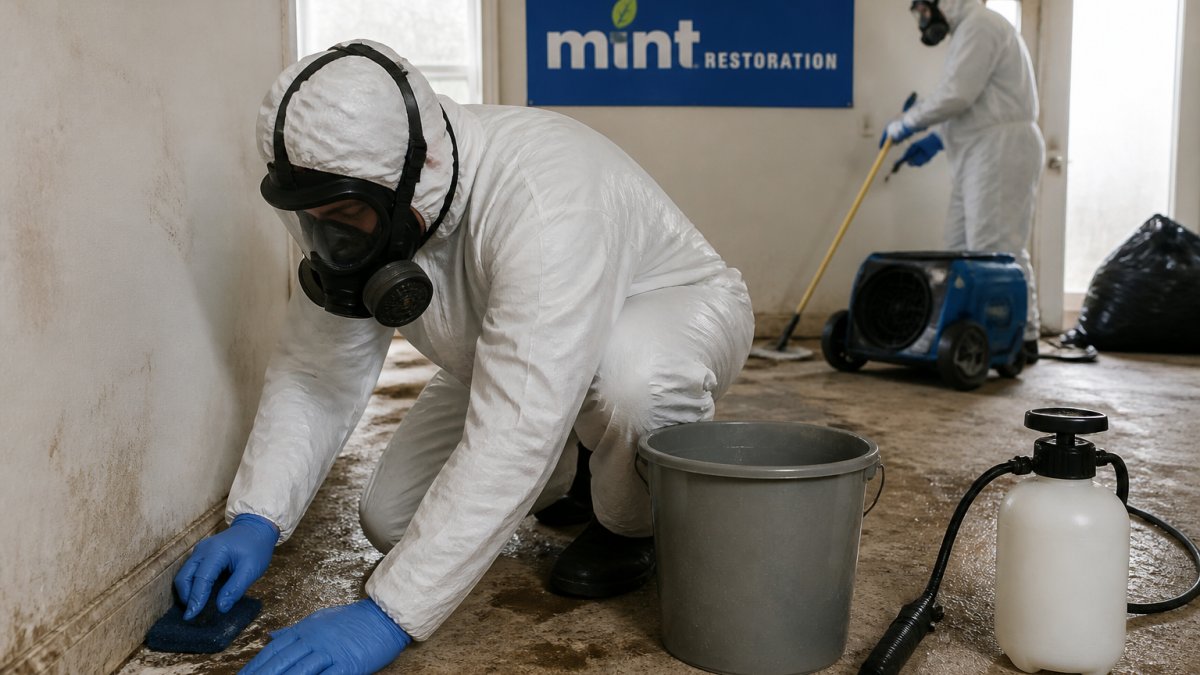
Mold remediation requires containment and moisture control, not just surface cleaning.
Hazardous materials like asbestos or meth contamination call for licensed handling.
Mint Restoration handles all four under one roof, so you're not coordinating multiple contractors while your property sits.
Yuma-Specific Hazards and Seasonal Risks to Watch For
Yuma's climate creates a specific set of risks that generic restoration advice ignores. Summer temperatures regularly push past 110°F, and that heat accelerates two things: mold growth in any trapped moisture and the deterioration of smoke residue on porous surfaces.
Monsoon season, roughly July through September, brings sudden heavy rain that overwhelms flat roofs, patio drains, and older plumbing. Storm damage from a single afternoon can saturate walls before you notice a stain on the ceiling.
Winter brings a quieter risk: pipe bursts from the occasional hard freeze, especially in older homes and vacant properties.
How to Verify a Restoration Contractor Before You Sign
Most homeowners hire a restoration contractor once, under stress, without a framework for judging competence. That is exactly when bad actors thrive. Use this neutral checklist to verify any contractor before you sign, including us.
1. Licensing and registration. Ask for the contractor's license number and verify it directly with the state licensing board's online lookup. Restoration work that involves structural repair requires a general contractor license; mold remediation may require a separate mold-specific license or registration.
2. Insurance and bonding. Request a certificate of insurance showing general liability coverage and workers' compensation coverage, and ask that you be named as an additional insured on the certificate.
3. Certifications that actually mean something. The restoration industry's main credentialing bodies are the IICRC (Institute of Inspection, Cleaning and Restoration Certification) and the RIA (Restoration Industry Association).
4. Written scope of work and estimate. Demand a written scope that lists affected areas, proposed drying equipment, expected drying days, demolition limits, and a line-item estimate. A verbal estimate is not a contract.
5. References and complaint history. Ask for three recent references from jobs similar to yours, and call them. Check the state licensing board and the Better Business Bureau for complaints. Search the contractor's name plus "complaint" and "lawsuit." A legitimate contractor will not hesitate.
6. Warranty terms in writing. Ask what the warranty covers, how long it lasts, and whether it covers labor and materials. Get it in the contract. A one-year workmanship warranty is common; anything shorter deserves scrutiny.
7. Payment terms. Be wary of large upfront deposits, many states cap deposits for home improvement contracts (How To Avoid a Home Improvement Scam). Never pay in full before work is complete, and never pay cash without a receipt.
Red flags: door-to-door solicitation after a storm, pressure to sign immediately, no physical business address, no license number on the estimate, requests for cash upfront, and offers to "handle your insurance for you" without a written agreement. Any one of these is reason to slow down.
Verification takes an hour. A bad contractor can cost you a year. Run the checklist before you sign, and if a contractor resists any step, that resistance is your answer.
Insurance Documentation and Claim Coordination
Your claim is decided on paper. The adjuster who never saw your home will approve or deny based on photos, moisture readings, itemized estimates, and your records. Build that file from hour one.
Step 1: Document before you touch anything. Photograph and video every affected room from multiple angles, including close-ups of damage and wide shots showing the room layout. Photograph the source of the damage (the burst pipe, the scorched outlet, the hail-broken skylight).
Step 2: Create a room-by-room inventory. List every damaged item, its approximate age, original cost if known, and condition before the loss. Include furniture, flooring, drywall, cabinetry, appliances, and personal property. This inventory becomes the basis for your personal property claim and helps the adjuster scope the dwelling repair.
Step 3: Keep a claim log. Record every call with your insurer and adjuster: date, time, who you spoke with, what was said, and any commitments made. Email a summary after each call so there is a written record. Insurers document their side; you should document yours.
Step 4: Understand the adjuster's scope. The adjuster writes a scope of loss, a line-item estimate of covered repairs. Compare it to your contractor's written scope. Gaps are common, especially for hidden damage like wet subfloor or smoke residue in ductwork.
Step 5: Coordinate mitigation and repair documentation. Ask your contractor to provide itemized estimates, daily moisture readings, drying logs, and photo documentation formatted for adjusters. These records prove the mitigation was necessary and the timeline was real, which matters for both the dwelling claim and any business interruption or additional living expense claim.
Step 6: Track additional living expenses or business interruption. If your home is uninhabitable, keep receipts for hotel, meals, and laundry; most policies reimburse reasonable additional living expenses.
| Document | Why It Matters |
|---|---|
| Pre-cleanup photos and video | Proves damage extent before mitigation |
| Room-by-room inventory | Supports personal property and dwelling claims |
| Moisture readings and drying logs | Supports water intrusion and mitigation necessity |
| Itemized estimate and supplements | Backs the repair scope and change orders |
| Claim log with dates and names | Resolves disputes over what was promised |
| Receipts for emergency supplies and ALE | Recoverable under most policies |
Ask your adjuster for the claim number and the name of the assigned adjuster on your first call, and put both at the top of every document you submit. Claims move faster when every piece of paper is traceable to a claim.
You do not need to fight your insurer, you need to out-document the loss. Photos, inventories, logs, and itemized scopes are the language claims are decided in.
Building a Commercial Disaster Recovery Plan
A commercial disaster recovery plan is a written procedure that tells your team exactly what to do, who to call, and how to keep operations running when a building is damaged. Most businesses don't have one until after their first disaster.
Start with three pieces: a contact list (restoration contractor, insurer, utility providers, key staff), a damage assessment protocol so someone is designated to evaluate and document, and a communication plan for tenants, customers, and employees.
Pre-qualify your restoration contractor now, before you need one. A signed service agreement with a 24/7 emergency line and a defined response time turns a crisis into a phone call.
The Business Property Restoration Checklist
Commercial property restoration runs on a different clock than residential work. Every hour of downtime costs revenue, so the checklist prioritizes getting you operational.
- Secure the perimeter and document all damage
- Notify your insurer and open a commercial claim
- Get a damage assessment and written scope of work
- Isolate hazardous areas (asbestos, mold, contaminated water)
- Restore critical systems first: power, HVAC, plumbing
- Schedule phased reoccupation as zones clear
- Keep tenants and staff informed at every stage
Mint Restoration provides rapid 60-minute on-site response and 24/7 emergency availability, including holidays, for commercial properties across the Yuma area.
Commercial Restoration Response Time and Business Interruption Recovery
Response time is the single biggest lever on business interruption recovery. The faster a certified crew arrives, the shorter the drying duration, the smaller the repair scope, and the sooner you reopen.
A 60-minute on-site response means mitigation starts before secondary damage sets in. Compare that to a crew that arrives the next morning, after water has soaked into subflooring and mold has begun colonizing wall cavities.
Insurance often covers business interruption costs, but only when documentation proves the timeline. Your contractor's arrival time, moisture readings, and daily progress logs become evidence in that claim.
The FEMA Ready Business guidance recommends pre-identifying recovery vendors and keeping a documented continuity plan, which is exactly what shortens interruption periods.
Frequently Asked Questions
What should a business do first after property damage?
Make sure everyone is safe and the building is secure, then stop the source of damage if it can be done safely, such as shutting off water or power. Call your insurer to open a claim and photograph everything before anything is moved. Next, contact an emergency property restoration company for a damage assessment, since standing water and smoke residue get worse by the hour. Keep all receipts for emergency repairs, temporary power, and lodging; most policies reimburse reasonable mitigation costs that prevent further damage.
How quickly should a commercial restoration company respond to an emergency?
A serious commercial restoration response time is measured in hours, not days. Ask for a written on-site commitment before you hire; Mint Restoration advertises a 60-minute on-site response and 24/7 availability, including holidays. Fast arrival matters because water wicking into drywall, insulation, and flooring raises the chance of mold and pushes back your reopening date. Confirm the crew can start water extraction and structural drying the same day they arrive, not just hand you an estimate.
How can a business reduce downtime during property restoration?
Plan business interruption recovery before a loss happens. Map which areas of the building are essential, identify a temporary workspace or service workaround, and keep a current inventory with photos so the adjuster can process your claim faster. During restoration, ask the contractor for a written project timeline with drying duration and inspection milestones so you can schedule staff and communicate with customers. Businesses that document damage thoroughly and approve mitigation quickly usually reopen sooner than those that wait on paperwork.
What should a business ask a restoration contractor before hiring them?
Ask for proof of licensing, insurance, and bonding, and confirm the technicians hold IICRC or comparable certifications. Request a written scope of work that separates mitigation from reconstruction, a project timeline, and a clear explanation of what the one-year warranty covers. Ask whether they handle mold, asbestos, and meth contamination in-house or subcontract it, and whether they bill your insurer directly. Finally, get the on-site response commitment in writing so you know how fast crews will actually arrive.
When damage hits, the difference between a fast recovery and a long one comes down to who you call and how quickly they arrive. Mint Restoration brings over 30 years of experience, 60-minute on-site response, 24/7 availability, and a one-year warranty on all work to every job in Yuma and the surrounding areas. Get a quote from Mint Restoration and get your property back to its pre-disaster condition.