 ultimate-guide
Steps for Commercial Disaster Recovery: 2026 Guide
Table of Contents
- Commercial Disaster Recovery: The Steps That Decide Whether Your Business Reopens
- Step 1: Activate Your Business Disaster Recovery Plan and Assemble the Team
- Step 2: Conduct a Commercial Property Damage Assessment
- Step 3: Stabilize the Property and Start Data Recovery
- Step 4: Communicate with Employees, Stakeholders, and Customers
- Step 5: File the Insurance Claim with a Complete Documentation Package
- Step 6: Follow a Realistic Business Disaster Recovery Timeline
- Step 7: Restore Operations and Review with a Disaster Recovery Checklist for Businesses
- Frequently Asked Questions
Last Updated: October 9, 2026
Commercial Disaster Recovery: The Steps That Decide Whether Your Business Reopens
Commercial disaster recovery is the sequence of actions a business takes after fire, water, mold, or contamination damage to stabilize the property, recover data, document losses, and resume operations.
The stakes are simple. A business that documents damage properly and starts mitigation within the first day recovers faster than one that waits for an adjuster before acting. Speed protects the building.
Step 1: Activate Your Business Disaster Recovery Plan and Assemble the Team
A business disaster recovery plan is only as good as the people who execute it. Pull your team together before you assess anything else.
Roles Every Commercial Recovery Team Needs
- Incident commander: one decision-maker, usually the property or operations manager
- Safety lead: confirms the building is safe to enter and enforces PPE rules
- Documentation lead: photographs, logs, and timestamps every loss
If you don't have a written plan yet, FEMA's business continuity planning resources walks through building one. The goal isn't a perfect document. It's a named person for every job.
Step 2: Conduct a Commercial Property Damage Assessment
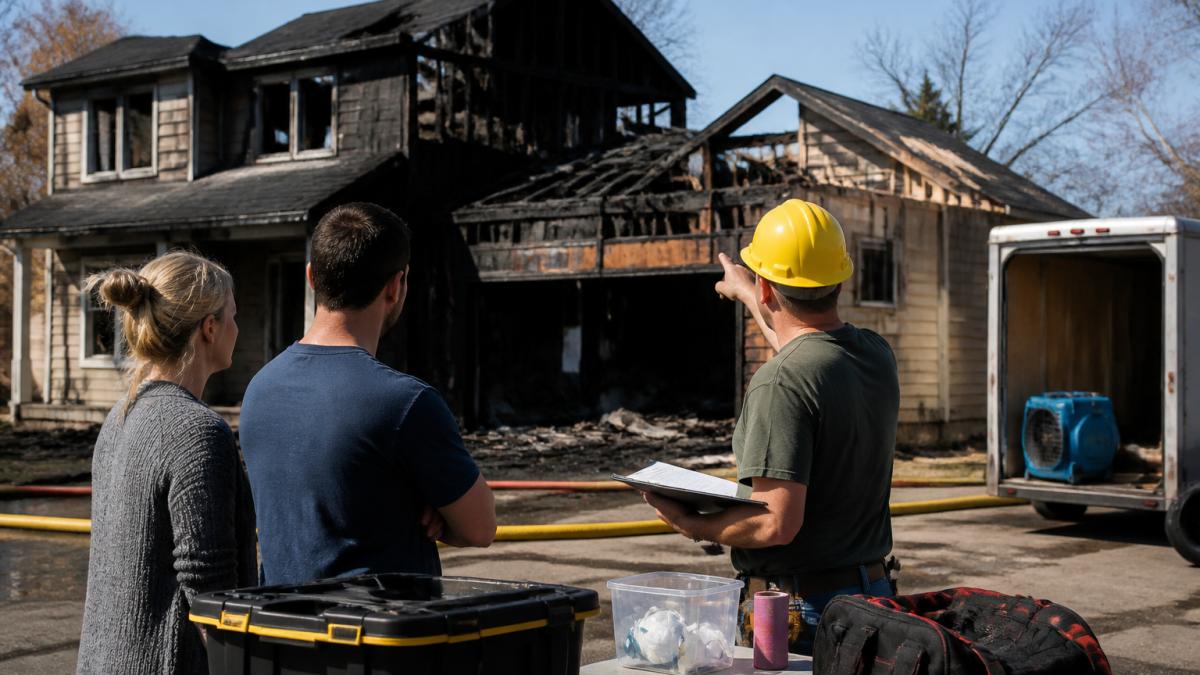
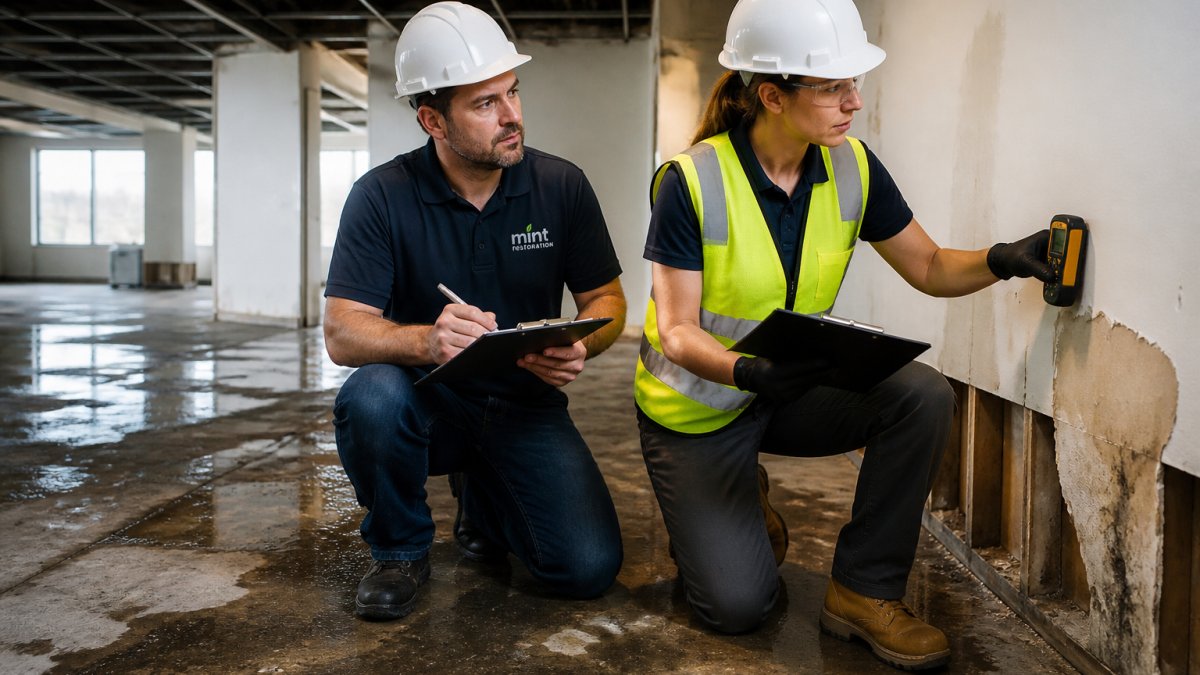
A commercial property damage assessment is a systematic walkthrough that separates usable space from lost space and records both. Do it before anyone moves debris, and treat it as evidence collection, not a walkthrough.
Zone the Building Before You Walk It
Split the property into three zones and label them on a floor plan:
- Red, unsafe or fully lost: structural damage, standing water, active electrical hazard, or contamination. No entry without the safety lead.
- Yellow, usable with limits: wet materials, compromised ceilings, or blocked egress. Short entries only, PPE required.
- Green, unaffected: the space you will run operations from during recovery.
Zoning does two things at once. It keeps people out of the red zone, and it gives your adjuster a single-page map of the loss instead of a folder of disconnected photos.
What to Document Before You Touch Anything
- Wide shots of every affected room, then close-ups of each damaged item
- Standing water lines, stained ceiling tiles, and warped flooring
- Serial numbers, model numbers, and asset tags on damaged equipment
A common mistake is cleaning up first and photographing later. Adjusters work from evidence, and a tidy room tells them nothing. The same logic applies to discarded material: photograph and inventory anything you remove before it leaves the property, because a dumpster is not a record.
Build a Chain of Custody for the Evidence
Most guides skip this, and it is where claims quietly fall apart. Keep every piece of evidence tied to a person and a time:
- Name the photographer. One person owns the camera roll, not five phones with five timelines.
- Timestamp on capture. Enable date and time stamps in the camera settings before you start.
- Back up off-site the same day. Upload to cloud storage or hand a drive to the insurance liaison. A phone that gets dropped in a puddle takes your claim file with it.
- Log every removal. If a mitigation crew hauls out wet drywall or a ruined server rack, note what left, when, and where it went.
Separate 'Damaged' from 'Destroyed'
Your inventory should carry three columns, not two: item, condition, and disposition. Condition is damaged or destroyed. Disposition is repair, replace, or discard. That third column is what turns a photo album into a claim. It also tells your contractor what to source and your insurer what to pay for, which shortens the gap between assessment and mitigation.
When to Bring in a Specialist
Some findings end the walkthrough and start a phone call. Stop and bring in a specialist if you see:
- Suspected asbestos in flooring, insulation, or ceiling tile in a pre-1980s building
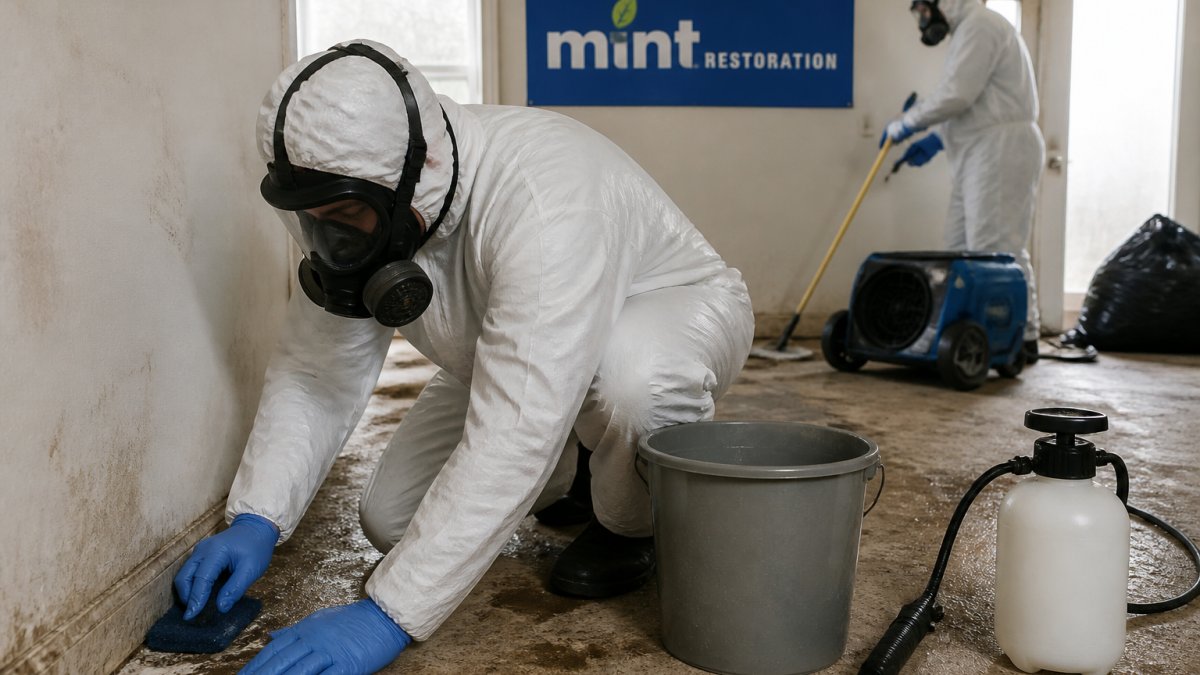
- Visible mold growth or a musty odor across more than a small area
- Structural cracking, sagging, or a roof that has lost its load path
Those conditions change the scope, the timeline, and the cost, and an adjuster will want a specialist's report attached to the claim. Documenting the referral in your assessment log keeps that paper trail intact.
Step 3: Stabilize the Property and Start Data Recovery
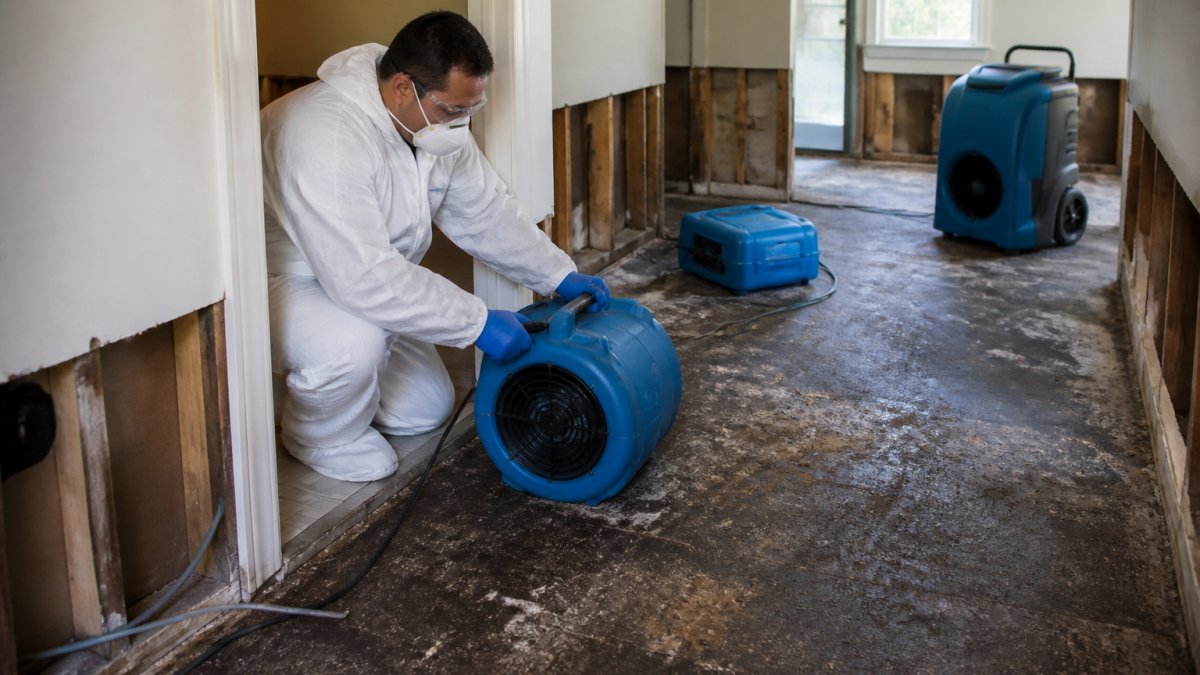
Stabilization comes before restoration. Board up openings, tarp the roof, shut off water at the source, and stop the damage from spreading.
Data recovery runs in parallel. If servers or workstations took on water, don't power them on. Isolate the drives and call a data recovery specialist.
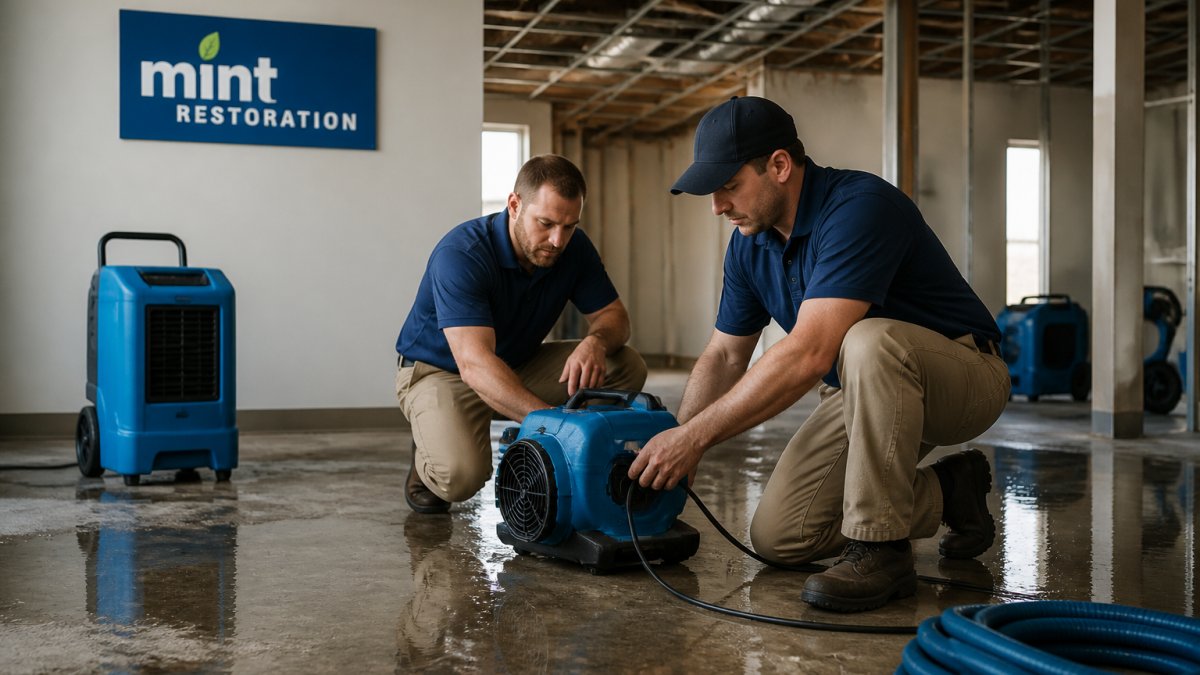
For water intrusion, extraction and drying need to start immediately. Mold can begin colonizing wet materials within 24 to 48 hours, according to EPA guidance on mold and moisture.
Step 4: Communicate with Employees, Stakeholders, and Customers
Silence costs more than bad news. Tell employees whether they're working, where, and when they'll be paid.
Set up three channels: a phone tree or group message for staff, an email or portal notice for customers, and a direct line for your landlord, lender, and key vendors. Update all three on a fixed schedule, even when there's nothing new to report.
Supporting Your Team Through the Recovery
Most recovery guides stop at logistics. That's a mistake. Employees who lived through a fire or watched their workplace flood carry real stress into the next shift. Acknowledge it, share the recovery timeline openly, and point people toward counseling resources if your benefits include them. Teams that feel informed come back faster than teams left guessing.
Step 5: File the Insurance Claim with a Complete Documentation Package
Your claim is only as strong as the file behind it. Submit a package that includes:
- The full photo and video log from your damage assessment
- A written inventory of damaged or destroyed assets
- Contractor estimates and mitigation invoices
Keep a running loss log from day one. Every hotel night, equipment rental, and lost revenue entry belongs in it. This is the part most businesses handle poorly, and it's the part that decides the size of the check.
Step 6: Follow a Realistic Business Disaster Recovery Timeline
A business disaster recovery timeline sets expectations internally and with your insurer. Here's the order most commercial losses follow:
| Phase | Typical Timeframe | Key Action |
|---|---|---|
| Emergency response | First 24-48 hours | Stabilize, extract water, secure the site |
| Damage assessment | Days 1-3 | Document everything, notify insurer |
| Mitigation and drying | Days 2-10 | Dry structure, remove contaminated material |
| Claim review | Weeks 2-6 | Adjuster inspection, estimate negotiation |
| Reconstruction | Weeks 4 and beyond | Rebuild to pre-loss condition |
| Reopening | After final inspection | Restore operations, review the plan |
Timelines shift with building size, contamination type, and how fast the claim moves. Asbestos or mold remediation adds time because the work has to be done under containment.
Step 7: Restore Operations and Review with a Disaster Recovery Checklist for Businesses
Reopening isn't the finish line. The final phase is where you close the claim, restart the supply chain, and turn the loss into a stronger plan. Most guides stop at 'reopen the doors.' These are the steps that decide whether the doors stay open.
Close the Claim, Not Just the Project
Mitigation ending does not mean the claim is finished. Work the file to the last dollar:
- Reconcile the final insurance payout against your running loss log, line by line
- Submit any supplemental claim for damage found after the initial estimate
- Attach contractor invoices, mitigation reports, and specialist findings to the claim file
The supplemental claim is the step most businesses miss. Hidden moisture, secondary mold, and equipment that fails weeks after drying are common, and a closed claim is hard to reopen. Flag anything questionable to your adjuster before you sign a final settlement.
Restart the Supply Chain Before You Restart Operations
A building can be ready while the business is not, because the vendors it depends on are still down. Map your critical dependencies and line up backups now:
- Single-source vendors: identify anything you buy from one supplier only, and qualify a second source before you need it
- Lead times: confirm current lead times on your top materials, since post-disaster demand stretches them
- Logistics: check that your shipping, courier, and freight partners can serve your temporary location
A common pattern after a regional disaster is that the fastest-recovering businesses are the ones with a second supplier already vetted. Vetting a backup vendor during a crisis is too late; do it as part of the plan review below.
Verify Systems and Data Before Staff Return
- Verify data restoration and system access for every department
- Test phones, internet, point-of-sale, and building access controls
- Confirm all mitigation work passed final inspection
Run the After-Action Review
- Hold a tabletop exercise on what went wrong and what worked
- Revise the plan with new contacts, vendors, and lessons learned
- Add the backup suppliers you qualified to the vendor list
- Update the call tree and confirm every number still reaches a person
That last item is where operational resilience actually gets built. Every recovery teaches you something your plan didn't cover, and the businesses that write it down are the ones that recover faster the next time.
Frequently Asked Questions
What are the steps in a commercial disaster recovery plan?
A commercial disaster recovery plan follows a sequence: activate the plan and assemble your recovery team, assess damage to the property and systems, stabilize the site and begin data recovery, communicate with employees and stakeholders, file the insurance claim with full documentation, follow a realistic recovery timeline, and restore operations. Each step builds on the last, so skipping the assessment or documentation phase often delays insurance payouts and reopening.
How do businesses assess damage after a disaster?
Start with a safety sweep: check for structural damage, electrical hazards, and contaminated water before anyone enters. Then document everything with photos, video, and written notes, including damaged inventory, equipment, and documents. A licensed restoration contractor can provide a professional commercial property damage assessment that identifies hidden issues like mold behind walls or asbestos disturbance, which untrained eyes often miss.
How long does commercial disaster recovery take?
The business disaster recovery timeline depends on the damage type and size. Minor water damage might take a few days to dry and repair, while fire or mold remediation can take weeks. Structural rebuilding and permit approvals add more time. A restoration company can give you a phased schedule after the initial assessment, and clear milestones help you plan partial reoccupation while work continues.
How can a business keep operating during disaster recovery?
Identify critical functions and set up temporary workarounds before a disaster hits. That could mean remote work for office staff, temporary relocation to a sister site, or renting equipment to keep production moving. Cloud-based systems let employees access data from anywhere, and a phone-answering service keeps customers from hearing silence. The goal is to protect revenue and customer relationships while the property is restored.
What should employees do immediately after a business disaster?
Employees should follow the emergency protocols in your plan: evacuate or shelter as directed, account for everyone, and report to the designated assembly point. No one should re-enter the building until authorities declare it safe. Once everyone is safe, managers should communicate next steps, including whether work continues remotely, where to report, and how to access support resources.
How often should a business update its disaster recovery plan?
Review and update the plan at least once a year, and after any significant change: new locations, new equipment, key staff turnover, or updated insurance coverage. Tabletop exercises and live drills reveal gaps that desk reviews miss. After every real incident, debrief and revise the plan while the experience is fresh. A plan that sits untouched for years will fail when you need it most.