 how-to
How to Handle Mold in Walls: Step-by-Step Guide
Table of Contents
- What You'll Need Before Starting
- Identifying Mold Behind Drywall Signs
- How Long Does Mold Take to Grow
- Step 1: Locate and Fix the Moisture Source
- Step 2: How to Clean Mold Off Walls
- Step 3: How to Treat Mold Inside Walls
- Step 4: Dry the Area and Prevent Recurrence
- DIY Cleanup vs. Professional Remediation
- Frequently Asked Questions
Last Updated: October 21, 2026
What You'll Need Before Starting
Before you tackle mold in walls, gather protective equipment, cleaning supplies, and diagnostic tools to help you handle mold in walls safely.
Essential items:
- N95 or P100 respirator mask
- Nitrile gloves (heavy-duty)
- Safety goggles
Having these ready prevents delays and protects your health.
Identifying Mold Behind Drywall Signs
Spotting mold early prevents it from spreading deeper into wall cavities. Some signs are obvious; others hide until damage becomes severe.
Visible Indicators on Wall Surfaces
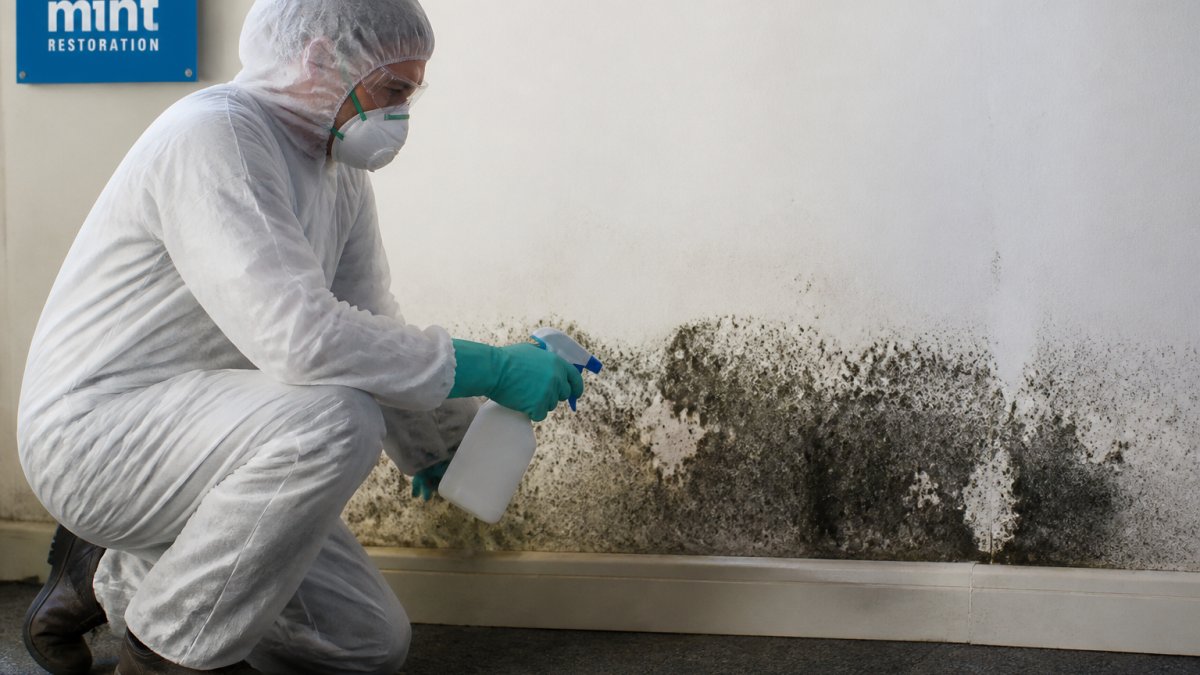
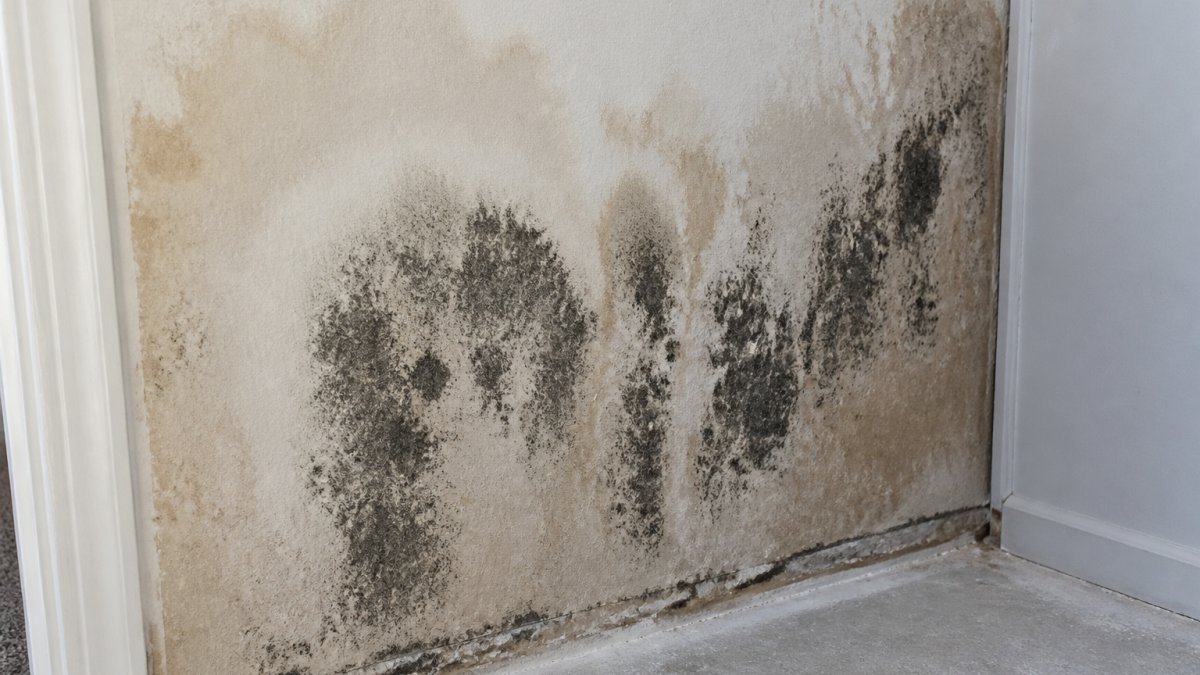
Look for discoloration first: black, green, or brown spots indicate active growth, and the area may feel soft or spongy.
Common visible signs:
- Dark stains or patches on drywall
- Fuzzy or slimy texture on the surface
- Rings or halos around water-damaged areas
Water stains often appear before visible mold. If you see a stain, moisture is present. Mold typically follows within days or weeks.
Hidden Mold Inside Walls
The dangerous mold grows where you can't see it: pipe leaks, roof damage, or foundation cracks create moisture inside wall cavities, where mold colonizes behind drywall undetected.
Signs of hidden mold:
- Persistent musty smell with no visible source
- Soft spots in drywall that indicate water damage
- Visible moisture or condensation on walls
A moisture meter reveals what your eyes cannot. Readings above 16% in drywall suggest trapped moisture, ideal conditions for mold growth.
How Long Does Mold Take to Grow
Mold growth speed depends on moisture, temperature, and nutrients. In ideal conditions, visible mold can appear within 24 to 48 hours.
Growth timeline:
- First 24 hours: Spores land and begin germinating in moist environments
- 3-12 days: Visible colonies form on surfaces
- 2-3 weeks: Extensive growth covers large areas
Mold thrives between 60°F and 80°F with humidity above 50%; cooler, drier walls slow the process.
Don't wait for visible growth. Once moisture is inside walls, conditions are right for rapid colonization, which is why identifying the moisture source matters so much.
Step 1: Locate and Fix the Moisture Source
No remediation works if moisture keeps feeding the mold, fix the source first or mold returns within weeks. This sequence traces moisture to its origin without unnecessary demolition.
Start with a Moisture Map
Before touching the wall, map moisture with a pin-type or pinless meter: read near the baseboard, at the stain's center, above and below the damage, and on the opposite side if accessible.
What the readings tell you:
- Drywall readings above 16% suggest trapped moisture.
- Wood framing readings above 20% indicate conditions favorable for mold and decay.
- A sharp gradient, wet at the bottom, dry at the top, points to water wicking upward from the floor or foundation.
Photograph your readings as a baseline for verifying the area is dry before you close the wall.
Trace the Water Path
Water rarely stays where it lands, gravity pulls it down, capillary action pulls it sideways. Work backward from the wettest point.
Diagnostic sequence:
- Check above the damage. Look for stains on the ceiling, peeling paint, or a sagging area. Roof leaks and upper-floor plumbing failures often show up on the floor below.
- Check the opposite side of the wall. If the wall backs onto a bathroom, kitchen, or laundry room, inspect the plumbing wall for loose fittings, corrosion, or past repairs.
- Check the floor and baseboard. Water from a foundation crack or basement seepage often appears first at the baseboard. Pull back carpet or trim if it is safe to do so.
- Check exterior walls. Look for failed flashing, clogged gutters, cracked siding, or grading that slopes toward the house. Water entering from outside often shows up inside at the same height or lower.
- Check HVAC and condensation. In humid months, cool supply ducts and cold-water pipes can sweat. Insulation that is missing or compressed allows condensation to form inside the wall cavity.
A common pattern: a small roof leak travels down a stud bay and stains near the floor, far from the entry point. Tracing the path prevents repairing the wrong spot.
Investigate Inside the Wall Without Demolition
You don't always need to cut open the wall, try these low-impact methods first:
- Outlet boxes and switch plates: Remove the cover plate and shine a flashlight inside. You can often see staining, moisture, or mold on the back of the drywall.
- Inspection camera: A inexpensive USB or wireless inspection camera with a small probe can fit through a 3/8-inch hole. Drill a small hole in an inconspicuous spot (behind baseboard or inside a closet) and look inside the cavity.
- Thermal imaging: Some moisture meters include thermal imaging, or you can rent a thermal camera. Cool, wet areas often show up as temperature differences on the wall surface.
Fix the Source Before You Clean
Once you identify the source, repair it before any cleanup:
- Plumbing leaks: Tighten fittings, replace corroded supply lines, or repair drain joints. If the leak is inside a wall, you may need to open the wall, but only after you have contained the area.
- Roof leaks: Replace damaged shingles, reseal flashing around chimneys and vents, and clear debris from valleys.
- Foundation and grading: Seal cracks with hydraulic cement or polyurethane sealant, extend downspouts at least 6 feet from the foundation, and regrade soil so it slopes away from the house.
After the repair, dry the area and re-check readings. Don't clean until readings return to normal (below 16% in drywall, below 20% in wood) or wet materials are removed.
Step 2: How to Clean Mold Off Walls
Surface mold on drywall and hard materials responds well to targeted cleaning, the key is the right approach.
Cleaning Nonporous Surfaces
Nonporous surfaces like tile, concrete, or sealed paint clean more easily than porous drywall because mold doesn't penetrate deeply.
Cleaning steps:
- Put on your N95 mask and gloves
- Spray the affected area with your chosen cleaning solution
- Let it sit for 10-15 minutes to kill mold spores
- Scrub firmly with a stiff brush
- Wipe clean with a damp cloth
- Dry thoroughly with towels
- Run a dehumidifier to remove residual moisture
Work in a well-ventilated area with windows and doors open, and avoid spraying hard enough to create a cloud of spores.
Choosing Your Cleaning Solution
Different solutions work for different situations, no single product kills all mold equally.
Vinegar solution: Mix equal parts white vinegar and water.
Baking soda solution: Mix one teaspoon baking soda with one cup water.
Bleach solution: Mix one cup bleach with one gallon water.
Commercial fungicide: Products labeled for mold remediation follow EPA guidelines. Follow label instructions carefully.
Step 3: How to Treat Mold Inside Walls
To handle mold in walls hidden inside wall cavities requires a different playbook than surface cleaning: contain the work area, protect yourself, remove only what is truly contaminated, and dispose of debris without spreading spores.
Containment and Personal Protective Equipment
Before cutting into a wall, set up containment. Spores become airborne the moment you disturb moldy drywall, a single cut can release thousands into living spaces.
Step-by-step containment:
- Close all doors to the affected room and seal gaps with painter's tape.
- Turn off the HVAC system and seal supply and return vents with plastic sheeting and tape.
- Cover doorways with plastic sheeting, taping the top edge first and cutting a slit for entry.
- Lay plastic sheeting on the floor and tape edges to the baseboard.
- Create negative air pressure by placing a box fan in a window blowing outward, sealed with plastic around the fan housing. This pulls air out of the room and discourages spores from migrating inward.
- Keep the containment up until cleanup and disposal are complete.
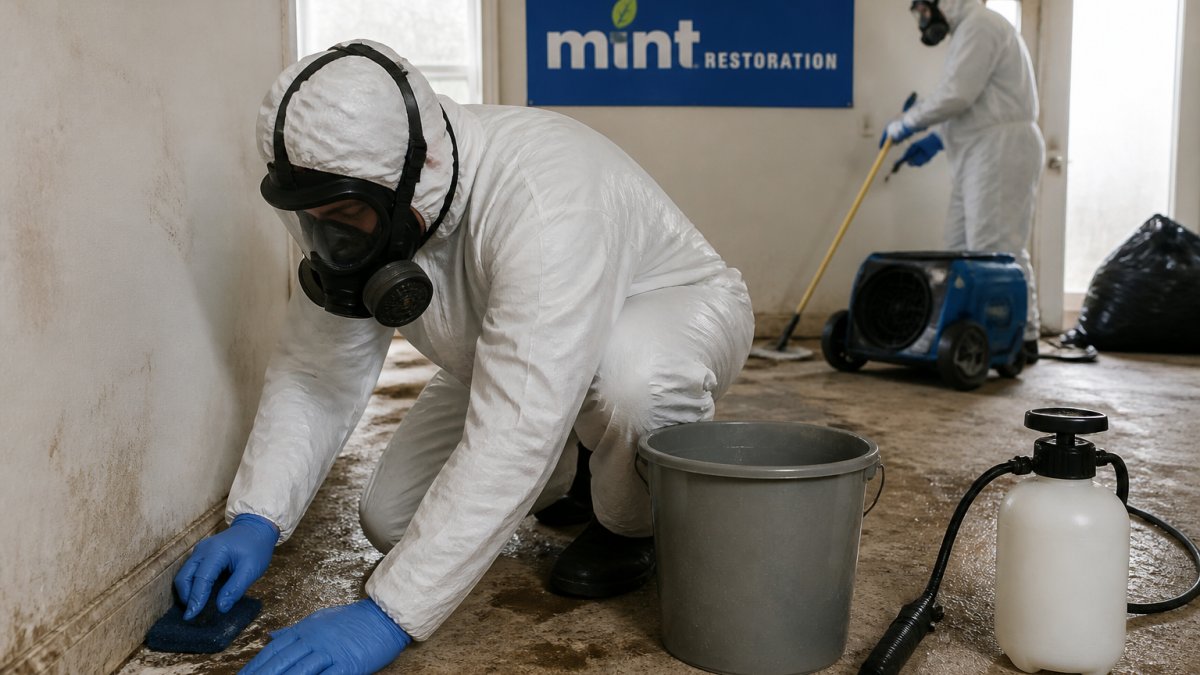
Personal protective equipment (PPE):
- N95 or P100 respirator, fit-tested if possible
- Nitrile gloves (heavy-duty)
- Safety goggles or a full-face shield
A common mistake is wearing the respirator only while cutting. Spores linger for hours, so keep PPE on until you've HEPA-vacuumed and wiped down the containment area.
Material-Specific Remediation
Unpainted drywall and joint compound: These are highly porous. Mold roots into the paper and gypsum.
Fiberglass insulation: Once moldy, insulation cannot be effectively cleaned. Remove and discard it.
Wallpaper and fabric wall coverings: These trap moisture and mold grows behind them.
Wood framing and studs: Surface mold on framing can be scrubbed with a detergent solution and allowed to dry.
Removal and Disposal
When removal is necessary, work in small sections to limit spore release: score drywall with a utility knife, remove it in manageable pieces, and bag debris immediately.
Disposal steps:
- Have heavy-duty plastic bags (6 mil or thicker) inside the containment zone before you start.
- Place removed drywall, insulation, and other contaminated materials directly into bags.
- Seal bags with duct tape and wipe the outside with a damp cloth before carrying them out.
- Transport bags through the home in a sealed container or directly to the outside; do not drag them through clean areas.
- Check local disposal rules, many municipalities require moldy construction debris to go to a specific landfill or transfer station. Call your city or county waste department if unsure.
After removal, HEPA-vacuum the exposed cavity and surrounding surfaces, then wipe with a damp cloth. Allow the cavity to dry completely (use a dehumidifier and fan, and verify with a moisture meter) before installing new materials.
When to Stop and Call a Professional
If the affected area exceeds about 10 square feet, mold extends into structural framing, or you're uncertain about the moisture source, stop. Professional remediators have containment equipment, HEPA filtration, and experience finding hidden contamination, an assessment costs far less than incomplete remediation and recurring mold.
Step 4: Dry the Area and Prevent Recurrence
Drying is the final critical step. Incomplete drying leads to rapid mold return within weeks.
Drying process:
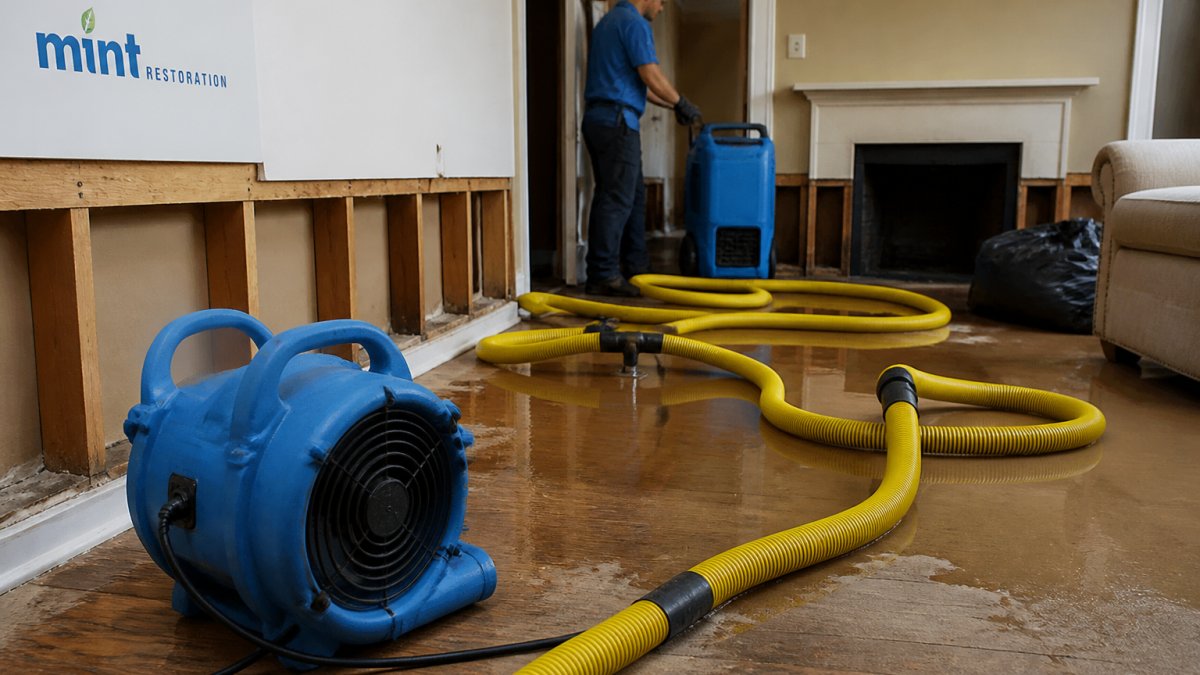
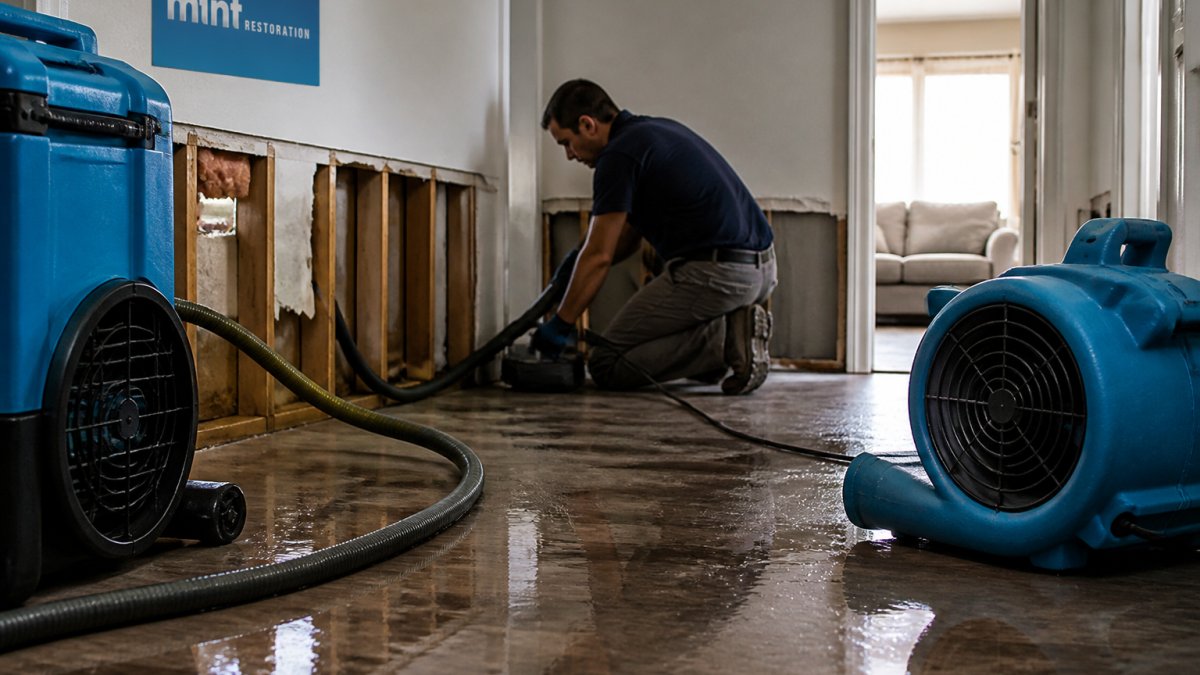
- Run dehumidifiers for 24-48 hours minimum
- Use fans to circulate air in the cavity
- Monitor moisture levels with a meter
Prevent future mold by controlling moisture:
- Fix all plumbing leaks immediately
- Maintain gutters and downspouts to direct water away from foundations
- Ensure proper grading around the foundation
DIY Cleanup vs. Professional Remediation
Not every mold situation calls for professional help. But some clearly do.
DIY cleanup works for:
- Small areas (under 10 square feet)
- Surface mold on hard materials
- Recent water damage (within 48 hours)
Professional remediation is necessary for:
- Large affected areas (over 10 square feet)
- Mold inside wall cavities or attics
- Extensive water damage or flooding
Professional teams have equipment, expertise, and containment capabilities that DIY efforts cannot match.
At Mint Restoration, we handle mold inside walls as part of comprehensive water damage restoration.
When in doubt, call a professional.
Mold in walls demands quick action and the right approach.
Frequently Asked Questions
How can you tell if mold is growing inside a wall?
Signs of mold inside walls include visible discoloration or dark spots on wall surfaces, a musty odor that persists in one area, water stains or soft patches on drywall, peeling paint or wallpaper, and condensation on walls. If you suspect mold in a wall cavity, look for moisture damage from recent leaks or water intrusion. In some cases, mold behind drywall signs may only be detectable through professional moisture testing or by carefully inspecting the area after removing a small section of drywall to check the wall cavity.
Can you clean mold inside a wall without removing drywall?
Surface mold on wall exteriors can be cleaned without removing drywall using appropriate cleaning solutions and scrubbing. However, if mold has penetrated into the wall cavity or has grown extensively on porous materials like insulation or wood framing inside the wall, removing the contaminated drywall or materials may be necessary. Treating mold inside walls often requires addressing the moisture source first, then applying fungicide or appropriate cleaners. For extensive infestations or structural involvement, professional remediation is recommended to ensure complete removal and prevent recurrence.
What will kill mold on a wall?
Common cleaning solutions that kill mold include bleach solution (1 cup bleach per gallon of water for nonporous surfaces), white vinegar spray, baking soda mixed with water, or commercial mold-killing products. For how to clean mold off walls, apply your chosen solution, let it sit for 10-15 minutes, then scrub with a stiff brush and wipe thoroughly. Ensure proper ventilation and wear protective equipment. For porous surfaces or extensive growth, commercial fungicide products designed for mold remediation may be more effective. Always test cleaning solutions on a small area first to ensure they won't damage the wall surface.
How long does mold take to grow on a wall?
Mold can begin growing within 24-48 hours of moisture exposure, with visible growth appearing in 3-12 days depending on humidity, temperature, and spore presence. How long does mold take to grow accelerates in warm, humid environments (70-90°F with high humidity). Once moisture is present, mold spores germinate quickly, and colonies expand rapidly if conditions remain favorable. This is why addressing water damage and leaks immediately is critical, the faster you dry the affected area and eliminate the moisture source, the better your chances of preventing mold infestation in walls.